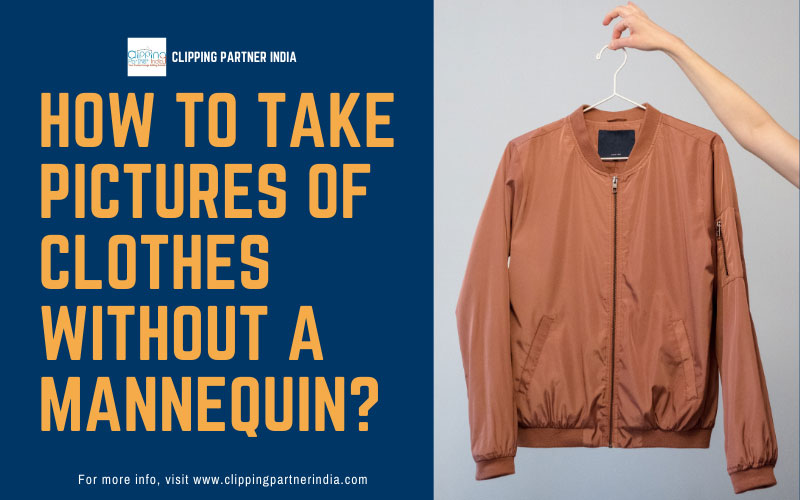
It is not just for eCommerce purposes; We have to change the color of shirts and other dresses for different purposes. We need it even to design a new shirt as well. And Photoshop is the best place to do it. So, today, we will learn about how to change the color of a shirt in Photoshop.
There are different methods to convert the color of the shirt using photoshop. We are not going to discuss everything to make you confused. But we selected the easiest 2 methods that are quite perceivable. So, check out the methods and be a master shirt designer.
Methods of Changing the Color of Shirt in Photoshop
As we mentioned before, there are several methods to change the color of a shirt in Photoshop. Some of them just use a color replacement system, while some use a clipping path service. Whatever, we have found out the easiest 2 ways. And you will get them right below.
Method One
This method uses a color replacement system. Check out the steps one by one, and don’t skip any of them.
Step 1: Open the Image in Photoshop
Before starting any editing work, you first need to open the target file. After opening the Photoshop new tab, look for the file option. Then click on open or import file.
You can now see the image on the Photoshop tab. From this phase, you can now do any kind of editing as you please. If you want to alternate the color of a shirt, the next thing you want is to unlock photo layers.

Step 2: Unlock the Layer
Click on the required command to open a layer of the image. Then, double-click on the layer to unlock it. You can now see the available features to adjust different things as required.

Step 3: Adjust the Color Replacement
Now, you have to click on the image button on the top left side of the Photoshop screen. Here, click on the adjustment option and select the replace color function. Therefore, a tab will open on the screen named ‘replace color.’

From there, you will have options and possible assistance to change the color of the targeted area. On the replace color tab, you will initially see the shirt in black and white. This will allow some precision tune-in color works.
Step 4: Adjust the Image Fuzziness
Adjusting the fuzziness of an image is crucial while changing colors in Photoshop. In this process, you will decide which areas and portions the change will be applied.

You have to click on the ‘+’ marked dropper tool and then click on the area of the shirt with the selected dropper option. Here, you have to change the fuzziness value as needed. Furthermore, change the color of the shirt to white. The remaining area should be in black.
Step 5: Set the Color
As you have turned the shirt into pure black and white form in the previous step, now you can choose the color you want. You will indeed find the result option on the replace color tab. Click on it. Now, you can see a result color tab to choose any color you need.

Select color first; then, you can adjust the color as required. In the following step, we will discuss color curves and possible adjustments in Photoshop.
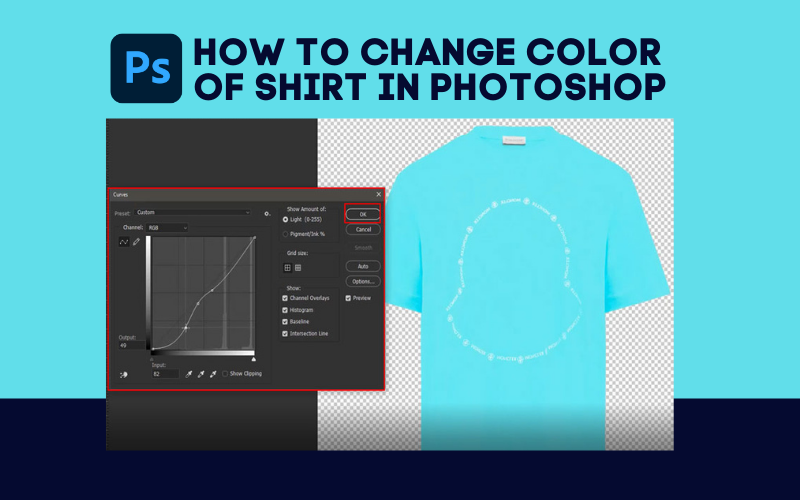
Step 6: Use Curves for Adjustment

In this step, the final outcome of the image is decided. If you want a realistic and natural look of the shirt, you simply have to use the curves option properly. You can search manually or just use the command ‘ CTRL + M’ to open the curves tab.
After opening the curves tab, you will see a curve diagram. Adjust the color and contrast just by dragging the lines to different angles. Click on the’ OK’ button if you think the photo is usable. The edited photo is now ready to use, or you can further edit if needed.
Method 2
The second method is about using the color range adjustment. So, let’s see how to do that.
Step 1: Open Image in Photoshop

As usual, you have to open the image in Photoshop to change the color. Firstly, open the file in a new tab in Photoshop. Next, click on the Open or Import File. Now, click the target photo and click on the OK option.
Right after that, you will find the image on the new tab. As you get the image ready on the tab, you can do all the editing on it.
However, here we suggest duplicating the original photo. It will ensure the safety of the original one. So, don’t edit directly on the original photo and make a copy to try.
Step 2: Copy the Background Layer
At this point, you have to copy the background layer of the photo. To do so, right-click on the background layer of the photo. Then, click on the copy button from the customizing option. The original layer is disabled when you click on the ‘eye’ icon.

Step 3: Color Range Adjustment
The core function of this method is to adjust the color range. Using the color range option is indeed easy and quick. Click the select button on the upper row of options. Clicking on the select button will be a chart of options. You will find the Color Range in the middle of the chart.

The color range tool is required to create a color-based selection. A small tab will appear when you click on the Color Range option. On the upper part, you will simply find an option called Select. You have to click on the Sampled color there.
Step 4: Adjust fuzziness
After you select the sampled color, you have to adjust the fuzziness of the short photo. Right below the Select option on the Color Range tab, you will get the option.

There, you will get an adjusting scale. Move the scale button to get the right fuzziness. In most cases, you have to decrease the fuzziness and keep the background color solid black.
Step 5: Adjust Saturation And Hue

We are in the final step. And here, you have to adjust the level of hue and saturation. First, find the Image option on the upper row. The second option on the option plate will be Adjustment. Click on it. You will get another option called Hue and Saturation in the middle part of the plate.
Click on it. Now, a small new tab will appear. There, you will get 3 options to customize. Hue, Saturation, and Lightness will be the 3 options we are talking about. All of them will have respective adjustment scales. Change it as you like. Finally, click on the Okay button and save the photo.
So, these are the two easiest methods to change the color of a shirt using photoshop. Undoubtedly both of the methods are easy to follow. The number of steps is just the number. Don’t be worried! We broke down the procedure into multiple steps. That’s why you can think it will be difficult.
However, nothing to be worried about! Once you start, we can assure you that you will need only a few minutes to complete the task. Just open the image in Photoshop and do the respective procedures. Hopefully, you will get it easily.
Final Thought
So, you don’t have to pay to change the color of shirts using Photoshop from now on. Remember that Photoshop is the most useful tool that people worldwide use for different purposes. And changing a shirt color using photoshop is a very easy task that you have learned already.
So, here we take our leave. Please inform us about anything you are confused about. We will try to get you the solution soon. Thanks for your precious time.